
 Decks
Decks Pools
Pools Stonework
 Outdoor Structures
 Outdoor Living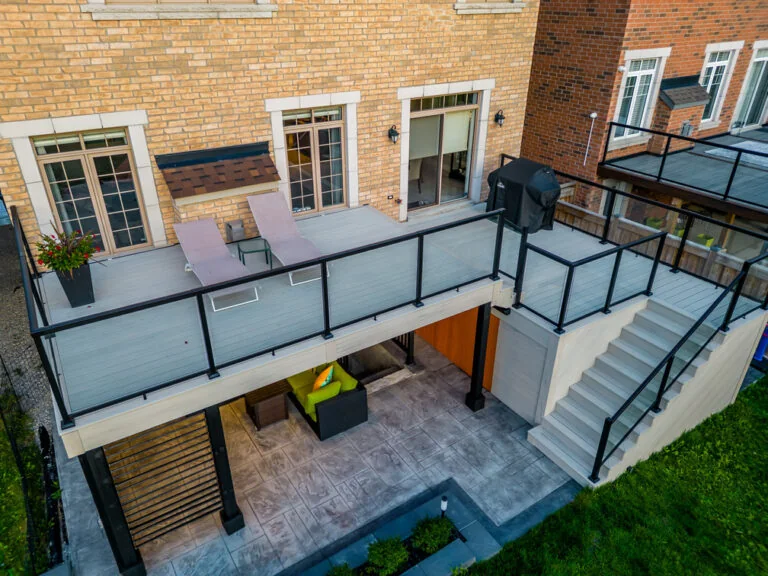
Updated August 2026
A multi-level deck works best when each level solves a real problem: connecting a raised door to grade, creating distinct outdoor rooms, preserving a view, or making a sloped backyard easier to use.
Let the House and Grade Set the First Decisions
Start by measuring the relationship between doors, windows, grade, property lines, and important views. A walkout basement, high main-floor door, or yard that falls away from the house naturally suggests different solutions. The design should follow those conditions rather than forcing an arbitrary set of platforms onto the site.
A site plan also reveals where privacy is needed and whether an upper deck could overlook neighbouring yards. Early measurements help determine where stairs can land comfortably and whether a lower patio, pool deck, or garden path should connect to the final step.
Give Every Level a Clear Job
The strongest multi-level decks feel like a sequence of outdoor rooms. The level closest to the kitchen may serve dining, while a lower area handles a lounge, fire table, hot tub, or pool connection. Each zone should be large enough for its intended furniture and leave a clear route around it.
Be cautious about splitting a modest footprint into too many small platforms. Levels add stairs, edges, guards, framing, and cost. Two generous and useful zones are usually better than three cramped ones. A custom deck design should earn every change in elevation.
Make Stairs Feel Intentional
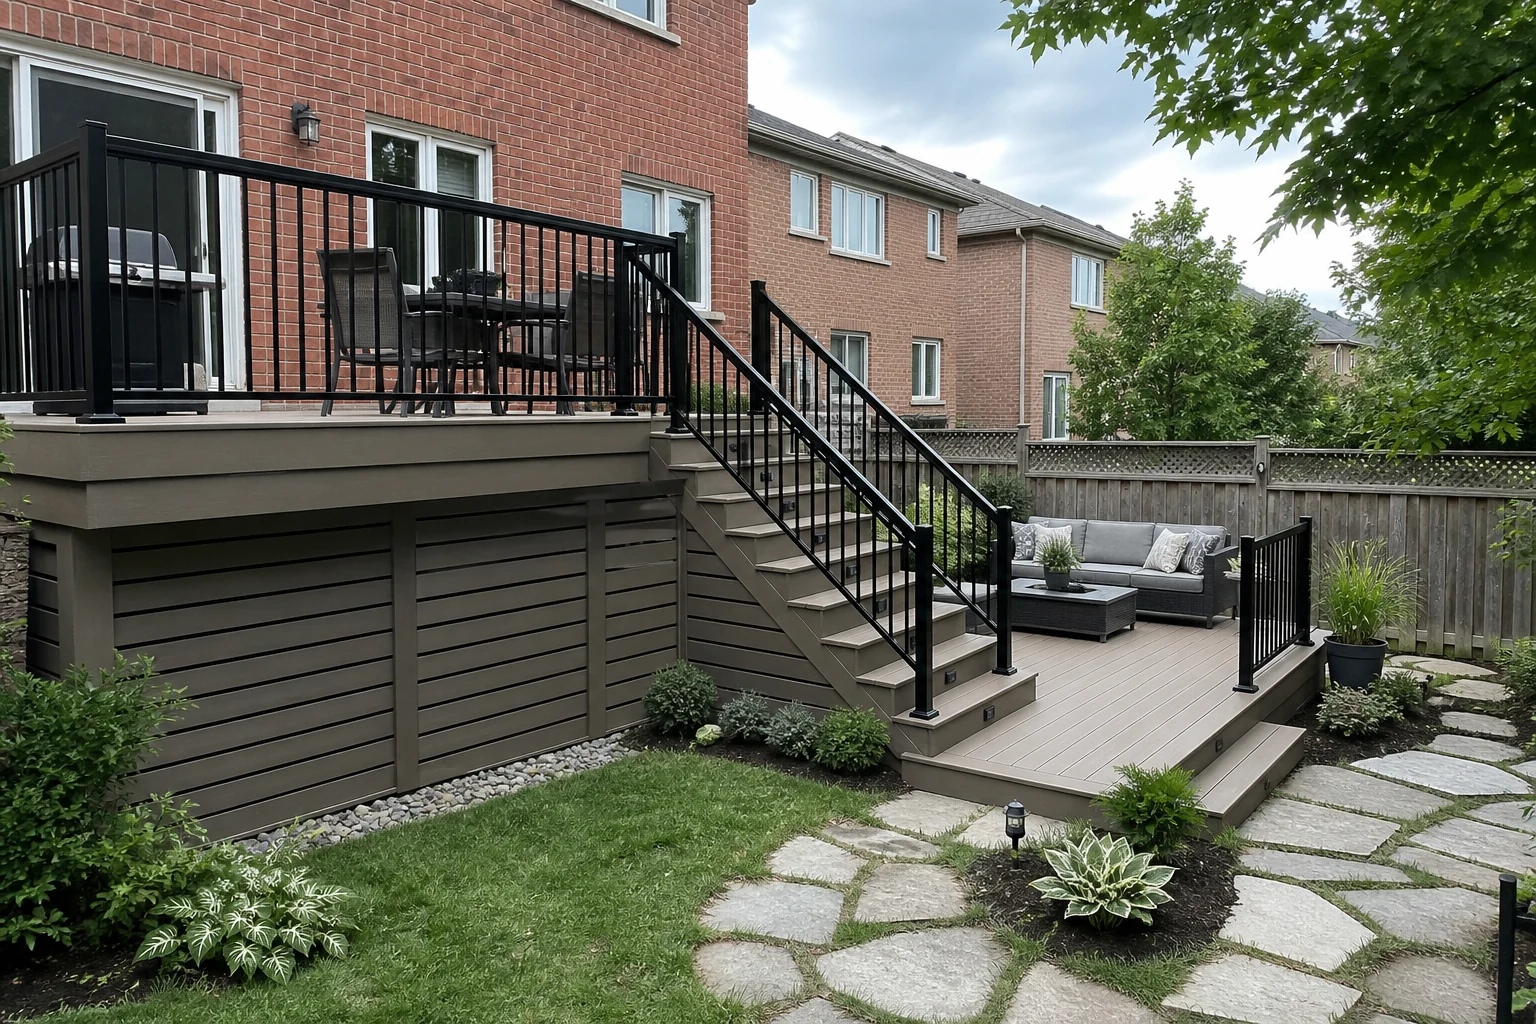
Stairs influence both movement and appearance. Wide steps can create a relaxed transition between major gathering areas, while a more compact stair may be appropriate along the side of the deck. Landings must be sized and placed with doors, gates, furniture, and code requirements in mind.
At night, changes in elevation need clear visual cues. Integrate step and landing lighting into the electrical and framing plans instead of adding exposed wiring later. Contrasting borders or changes in board direction can also help define edges without making the design visually busy.
Choose Materials as a Complete System
Multi-level decks expose more fascia, stair risers, railings, and connections than a simple platform. Review decking, framing, fasteners, guards, fascia, drainage, and lighting as one system. The least expensive board does not necessarily produce the least expensive or best-performing finished deck.
Low-maintenance surfaces such as composite decking or PVC decking are popular for complex decks because they reduce recurring refinishing across stairs and multiple levels. Natural wood can also be beautiful when the owner is comfortable with its maintenance and weathering.
Use the Space Below Upper Levels
An elevated level may create sheltered space below, but it is not automatically dry. If the lower zone is intended for finished seating or storage, plan a suitable drainage approach, ceiling clearance, lighting, and access for inspection. Mechanical equipment and utilities should remain serviceable.
The underside can also be visually important from the yard. Organized framing, thoughtful column placement, and coordinated cladding help the deck feel complete from every angle. This is especially valuable where the lower level connects to a pool or main garden.
Resolve Permits and Structure Before Finishes
Multi-level decks commonly require detailed drawings showing footings, beams, joists, stairs, guards, setbacks, and the relationship to grade. Requirements vary by municipality and project. Confirm them before ordering materials or assuming a construction date.
Structural decisions also affect the finished design. Beam locations influence columns and headroom; joist direction influences deck-board layout; guard details affect blocking and framing. Good design connects these technical decisions to the desired appearance from the beginning.
Know When a Second Level Earns Its Place
A second level should solve a change in grade, connect two doors, separate incompatible activities or preserve a useful view. If it only adds visual complexity, the same investment may be better spent on a larger landing, more comfortable stairs, shade or upgraded materials. Every change in elevation introduces edges, guards, fascia and transitions that need to be built and maintained.
A useful test is to name each level in plain language. If one is ‘dining beside the kitchen’ and another is ‘quiet lounge near the garden,’ the plan has a reason. If both areas contain similar furniture and neither has a strong relationship to the house or yard, simplify the layout before the framing plan is developed.
| Level | Best relationship | Question to answer |
|---|---|---|
| Upper | Kitchen or main-floor door | Can dining and grilling work without blocking the exit? |
| Middle | Transition across a slope | Does this landing improve movement or only add stairs? |
| Lower | Garden, pool or lounge | Can people move to the yard without crossing the seating zone? |
Coordinate the Details That Cross Between Levels
The most important details often sit between the main surfaces: stair foundations, guard transitions, fascia returns, lighting, drainage and the point where an upper frame passes over a lower space. These need to be drawn together. Treating each platform as a separate deck can leave the connecting pieces unresolved.
Before construction, confirm which areas must remain accessible for inspection and service. If the lower level will sit beneath an upper deck, decide whether it is simply shaded or intended to stay dry. A finished outdoor room below requires a deliberate water-management system, suitable clearances and coordinated lighting rather than an assumption that deck boards will provide a roof.
- Draw furniture and stair landings at full scale.
- Confirm guard requirements wherever the elevation changes.
- Plan snow, rain and downspout routes for both upper and lower areas.
- Keep utility and structural access available after fascia and ceilings are installed.
- Review the complete drawing against current municipal permit requirements.
Common questions
Is a multi-level deck more expensive than a single-level deck?
It usually involves more framing, stairs, fascia, guards, and labour. The actual difference depends on height, site access, structure, materials, and the number of transitions.
Can a multi-level deck work in a small yard?
Yes, when the level change solves a grade or access issue. Too many levels can fragment a compact space, so the plan should prioritize usable dimensions over visual complexity.
Does a multi-level deck need a permit in Ontario?
Many do, but requirements are municipal and project-specific. Confirm the current rules with the local building department before construction.
How many levels are too many for a deck?
There is no universal number, but each level should have a distinct function and enough usable area for furniture and circulation. Extra platforms that create frequent steps without adding a real benefit usually make a deck less comfortable.
Can the area below an upper deck be made dry?
Yes, with a purpose-designed drainage or waterproofing approach and coordinated clearances, lighting and access. Ordinary deck boards alone do not make the space below weatherproof.
Turn a Challenging Grade Into a Better Backyard
We design multi-level decks around the house, the site, and the way your family wants to use the space.
